Wednesday 30 November 2016

S-3 Viking

A bit more progress on the S-3 and this time it's the turn of the air intakes. The kit is pretty naff in this area as the insides of the intakes need building up with Milliput and new fan blades making. I decided to make covers to hide these areas so some Milliput (the white superfine stuff) was rolled out thinly and a narrow strip placed around the circumference of each intake, triangular pieces were put in four places (I used a drawing compass for measuring where they went) then some more Milliput placed over the openings, smoothing it all out with water and a brush.
When dry the Milliput was sanded down then 5amp fuse wire was used to make the triangular fastenings for the covers with 1mm strips of a double layer of masking tape put between the fasteners and covers. For a first attempt at making covers I'm quite pleased with the final result;
The sonobouy tubes were also finished off and this area looks MUCH better now I feel;

Hopefully I can get the build finished soon and be able to get on with painting the model.

Tuesday 22 November 2016

Dragon Jagdpanther revisited

I built this model a few years ago but I was never happy with the weathering so after looking at it again I decided to re-work it a bit. The model has been on display at a few model shows and consequently there has been a bit of damage which has been repaired, what I could'nt find was one of the fenders on the right side so I touched up the area where it was with Vallejo German Black/Brown acrylic.
So here it before;
 And this is the model after a bit of extra weathering;
 The front right fender fell off during the re-vamp and I was going to fix it back in place but I thought the model looked better without it. Anyway I reckon it looks better

Saturday 19 November 2016

Italeri LMV Lince

Repairs! After breaking off the front wheels I drilled holes in the back of them and the steering knuckles. A 4mm length of brass rod was super glued into the back of the wheels although they won't be fitted just yet as I need to paint stuff I had missed;
At least it's still a viable project and a chance to try a few different weathering techniques.
By the way this post was brought to you via my mobile phone instead of the pc :o)

Friday 18 November 2016

Italeri LMV Lince

Another one from the Shelf-Of-Doom and I've decided to start the weathering. The wiper blades were used to figure out the arc and then masking tape was cut to size;
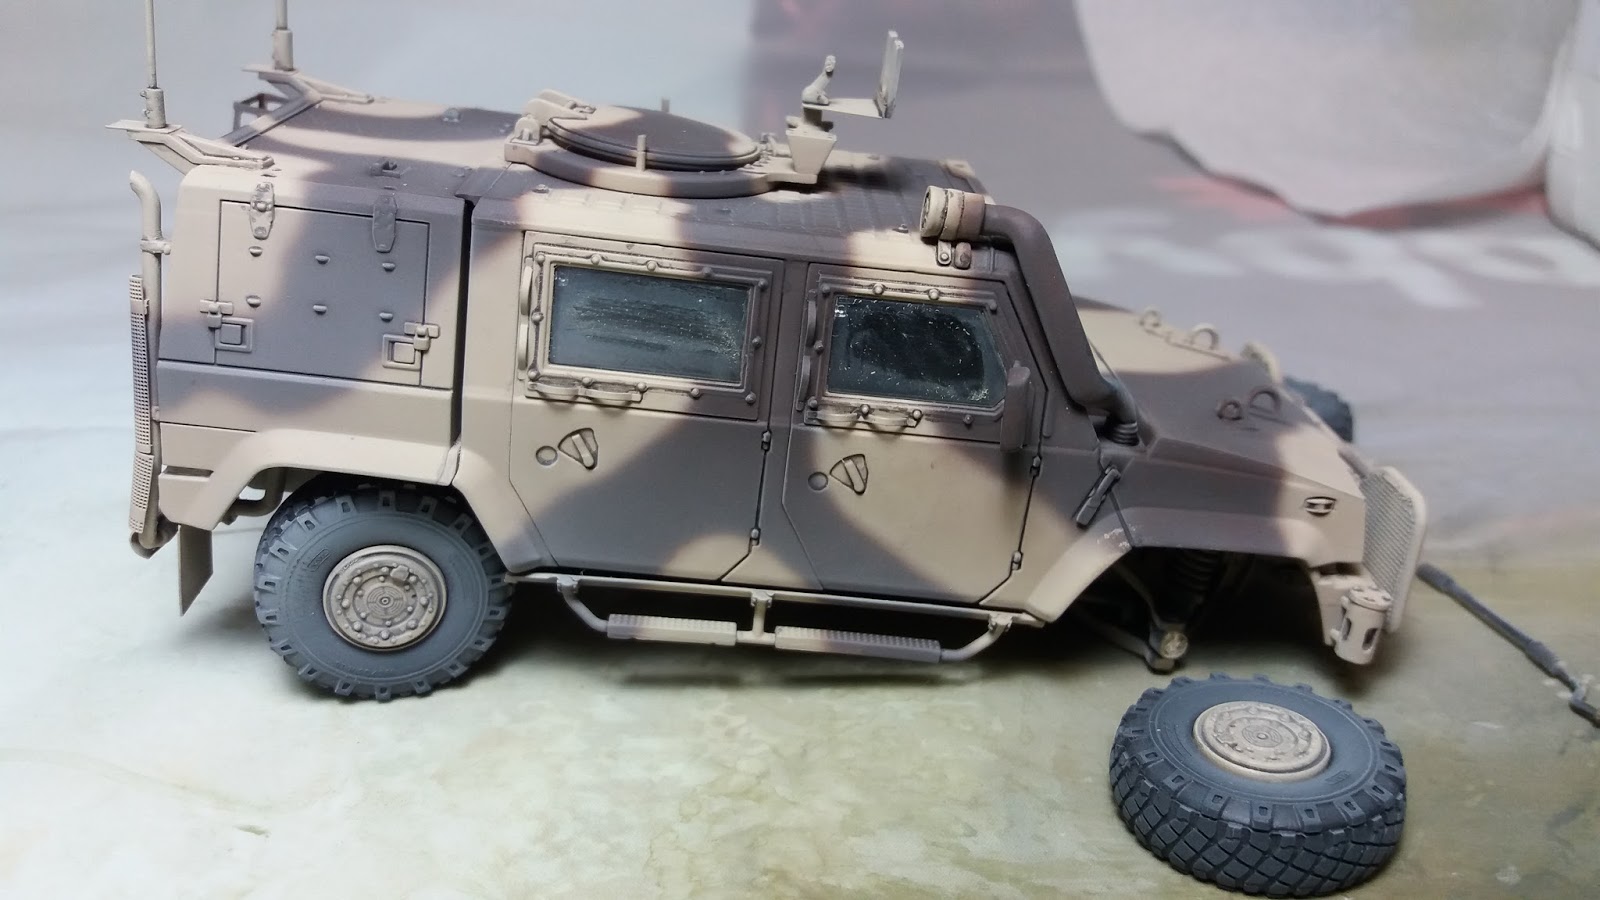
After much fiddling I eventually put the tape on the windscreen then gave the model a very thinned down spray of Tamiya XF-55 Deck Tan, making sure the vehicle underneath, sides and rear got a good blast and a lighter coat on the top surfaces;
At this point I remembered the tyres but fitting them resulted in me breaking the front wheels off and loosening a rear so before anything else I need to repair it.
A warning here too. I had previously coated the transparencies with Johnsons Kleer and before I painted the model I masked them off with Tamiya tape, however it's been a while since I last touched the model so when lifting the tape yesterday the tape had reacted with the Kleer so remove the tape pretty soon after painting. That and the fact I've managed to break off the wheels has brought the model perilously close to the bin but I shall persevere with it, if anything I can try different weathering mediums on it.

At least the camo scheme has been toned down somewhat!


S-3 Viking

Progress is glacial as per usual and last night was spent figuring out where the support struts are fitted for the folded wings. The weight of the resin wings is giving me some cause for concern as I don't think the hinges will take much to break, especially when moving the model around so I need to add the struts which means drilling holes in the wings and top fuselage.
After some research I've decided where the holes will be (well as near as dammit anyway) and this pic will give you some idea what the model will look like with the wings folded (without the sanding pad of course);
Still lots to do though!

Wednesday 9 November 2016

S-3 Viking

I bet you all thought I'd forgotten about this did'nt you? I've had a rest from the bench for a week or so but last night I was looking at those damned sonobuoy tubes and come up with this solution;
I drilled out the holes in the fuselage and inserted short lengths of 2.5mm (outside diameter) styrene tube which in turn was drilled out to reduce the thickness on the tube inside. Once dry the tube was cut flush with the lower fuselage and using a dentists burr the lip was thinned a bit more.
I think it looks much better than it did originally, only another 40 odd holes to do :o)
Told you those sonobuoy chutes were bugging me :o)