A big update tonight as I was without any internet for two days (the horror) then back in work.
First of all I masked the fuselage and cabin windows and windscreen
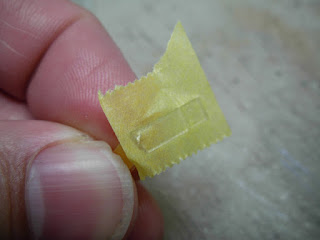
before I glued them into place then Tamiya masking tape was applied to the glazing;
Then using a sharpened cocktail stick the tape was worked into the frames;
The fun bit! Using a new scalpel blade the tape was scored along the frame;
With great skill (well a lot of luck really) you *should* get a neatly masked windscreen like this;
A word of warning using this method; I have totally buggered up a canopy and windscreen before now as sometimes the framing is that finely moulded the tape hides it so if you have any doubts use pre-cut masks such as Eduard or Montex ones.
Next we have the undercarriage which can be removed before painting fortunately. The gear legs were glued together but I also used cyano glue to give some added strength as I can foresee some problems with the model standing on it's own two feet (so to speak);
The windscreen and side windows were (surprisingly) a decent fit however there was a gap between the bottom of the screen and fuselage as demonstrated by the tip of the scalpel;
This was filled using black Milliput and while still wet it was smoothed out with an old paint brush moistened with water. Black Milliput was used as you have less chance of the filler showing on the inside;
The vent on the fuselage side was drilled out;
Finally the engines and cowling were glued on and I was concerned that
after all the chopping and changing they received they would'nt fit
properly, luckily I've got away with it and the Quickboost engines look FAR
better than the kit ones;
And that's that! The final bits were glued on and it just requires a clean in warm soapy water before undercoating. Of course it could still all go horribly wrong as I'm still not sure about the wing roots and I can see them being problematic but we'll worry about that later.


