Showing posts with label Miniart Personenwagen Typ 170V. Show all posts

Saturday, 13 May 2017

A productive couple of days!

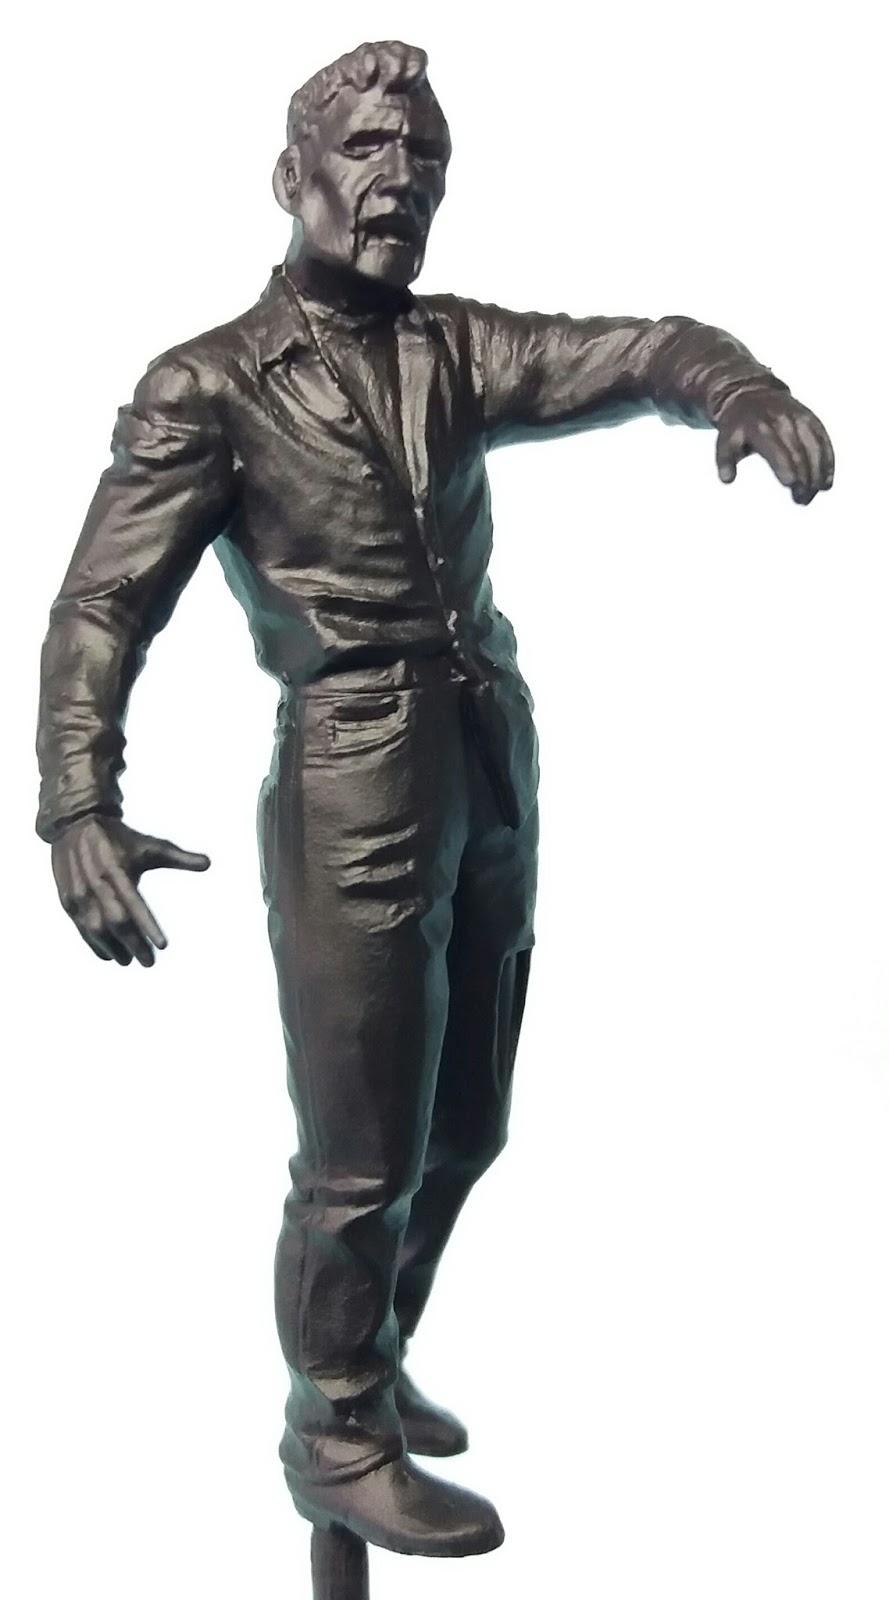
I've had some time at the bench the past two days and managed to get a couple of projects moved on a bit more. Starting out with the neglected zombie figure and bike rider I undercoated the figures and bike yesterday;


Today the fuel tank and mudguards on the bike were painted, the Revell kit of Vaders TIE fighter was also painted using a mix of Tamiya XF-53 Neutral Grey and XF-8 Blue (near-as-dammit being my guide)

After a pin wash of Mig Dark Brown yesterday the Miniart Personenwagen received a coat of matt varnish today and while I was in the mood it got a blast of a dusty looking Tamiya colour, building it up around the back end;
Quite a productive couple of days for a change!

Monday, 17 April 2017

Miniart Personenwagen Typ 170V

The model has been painted and just needs the decals applying before the weathering phase and I've used Mr Hobby paint for this as I did'nt want any of the 'graining' and roughness that I've experienced with Tamiya acrylics of late.
After undercoating with Games Workshop Chaos Black I sprayed the green first a couple of days ago using H303 FS34102. Most Mr Hobby colours are semi gloss but this one is'nt so I added a few drops of Tamiya X-22 Clear and straightaway I was getting a small amount of 'frosting' in a couple of places so I have'nt a clue what Tamiya have done to their paints but Mr Hobby will be the colour of choice in future. In case you think I'm making it up I sprayed some older Tamiya paint that I have in the stash and did'nt have ANY issues with it, also it's noticeable how different the older paint smells to newer stuff.
The red brown was a mix of H406 Chocolate Brown, H72 Dark Earth and X-22 and this was sprayed using my Harder and Steenbeck Infinity that I have'nt used for ages, only because I'm waiting on a replacement seal for my Badger 100. The next colour was the sand so I used H79 Dark Yellow and it all went a bit wrong at this point as the paint went everywhere. For fine lines I really should have used an enamel based paint as I have had more control with overspray in the past for some reason. Anyway after attempting to spray the sand colour I went back over the red-brown and green areas as I kept the paint mixes in empty jars and this is the result;
I'm quite pleased with that!

Saturday, 1 April 2017

Miniart 1/35 Personenwagen Typ 170V

The model is getting near the stage where I need to throw some paint on it so it will be left in three sub-assemblies. I only have some minor parts to stick on then it will be given a wash down in warm soapy water prior to painting;


The bonnet (or hood for my American readers) will be left open on one side and as you can see from the middle picture I've glued the right side down. The radiator grill has been glued between the fenders as the fit of parts is that good I can get away with doing this. Doing it this way allows me to spray the inside of the grill before fitting the radiator too.
Some mould pin marks are present on the inside surfaces of the main body and bonnet parts but luckly they are raised and simple to sand flush without filling. Whilst on the subject of the bonnet there is a mistake on page 10 of the instructions regarding having it open or closed in that option A depicts the closed position and option B the open position, also while on page 10 there are two options for the drivers side mirror but from what I can see only the one on the right was fitted so I had to fill in the hole on the left front fender.
The instrument panel dials are the only let down in the kit as there are no decals, just raised detail that needs painting. Fortunately Archer do a set of rub-down decals (AR35372) which will look far superior;
http://www.archertransfers.com/AR35372.html

I think the glazing will be the make or break feature of this kit as the front and rear screens will be fun to fit although I will keep the faith with the fit of parts being so good at the moment.

Edit; Well after an hour or so more at the bench and sticking some more bits on the construction phase is complete and I can now wash it down and start painting it.
Before I glued the headlights on I made black-out covers for them using Tamiya masking tape as these would have been fitted to the real vehicle, also note the very finely etched Mercedes emblem on the radiator grill;

I have to say this has been a very enjoyable build, maybe because it's something a bit different I don't know but I do like this kit.

Thursday, 23 March 2017

Miniart 1/35 Personenwagen Typ 170V Saloon

I picked this kit up a few weeks ago as the colour scheme on the box sold it immediately. I like the 1930's cars but all the chrome bits on them put me off as it's very difficult to replicate without it just looking like silver paint so seeing this vehicle in this particular scheme was irresistable;
 After finishing the two aircraft I decided to start the model so I will be posting the progress as it's not been that easy to assemble so far.
Starting with the chassis it is pretty well detailed plus you get a full engine, all that is missing are the HT leads from the distributor to the sparkplugs which I added using 5amp fuse wire;

The chassis required some clean up as there were prominent seam lines present although they cleaned up easily enough;
There are quite a few small and fiddly parts which made assembly 'fun' to say the least and just to add to it I wanted to turn the front wheels which required cutting off the axles, drilling holes in the steering posts and gluing in some 0.88m styrene rod, remembering to alter the track bar;

Miniart has made a very commendable job of the rear suspension springs but I decided to make my own using 15amp fuse wire coiled around a 2mm diameter drill bit;
The chassis is almost finished, the main bits to watch are the attachment of the exhaust as it is held onto the rear via two small strips of etched metal so it will be easily knocked off during handling and the front bumper as it just butt-joins to the front of the chassis and care is needed to make sure it does'nt droop to one side;


The brake lines were made from copper wire, the shape of which I guessed as the instructions are not very clear.
This is my first Miniart kit and so far I'm quite impressed with the model as the detail is very good and the parts layout is pretty sensible too compared to what I have read about their kits, especially their T-54.