The model is back to bare plastic, unfortunately there was a lot of interior green paint leaking out. I'm hoping it was just from the wheel wells as I can respray that area but if the cockpit paint is affected then it is totally fucked. Some cockpit parts need touching up and the seat belts have come loose so we'll see when the model has dried out if the project is worth pursuing.
Hi and welcome to my small corner of the internet and here you will find a variety of models that mainly comprises armour, aircraft and figures. I'll be adding pics of current projects and older stuff plus models that have appeared in a couple of magazines, Model Military International and Military Miniatures in Review. Thank you for stopping by and taking an interest in my work.
Showing posts with label Airfix P-51D. Show all posts
Friday, 11 May 2018
Airfix 1/48 P-51D Mustang
Well I tried! I rubbed down the affected areas but where I got down to bare plastic then resprayed the model these areas stood out like a sore thumb so fuck it, the nuclear option was deployed;
The model is back to bare plastic, unfortunately there was a lot of interior green paint leaking out. I'm hoping it was just from the wheel wells as I can respray that area but if the cockpit paint is affected then it is totally fucked. Some cockpit parts need touching up and the seat belts have come loose so we'll see when the model has dried out if the project is worth pursuing.
Panzer, Tank, Aircraft,
Airfix 1/48 P-51D Mustang,
Airfix P-51D,
P-51D Mustang
Thursday, 25 January 2018
Airfix 1/48 P-51D Mustang
The fuselage has been closed up and I can now get on with the rest of the build. Airfix have done the tail as a separate assembly which is odd however if you look carefully they have moulded in an offset to port so maybe that's why they did it. Anyway dry fitting the tail assembly revealed a couple of issues which prevented it from fitting properly so after a think I decided to cut off the locating pegs at the front of the tail and the small ledges that sit inside the rear fuselage;
After this the fit of the tail unit was much better although I think I'm going to have a couple of awkward filling jobs around here as the area in front of the rear tail wheel housing isn't a stellar fit either.
Panzer, Tank, Aircraft,
Airfix 1/48 P-51D Mustang,
Airfix P-51D,
P-51D Mustang
Tuesday, 23 January 2018
Airfix 1/48 P-51D Mustang
Just a quick update to the Airfix P-51 cockpit. I resprayed the Eduard coloured etch first and using a paint brush moistened with Tamiya thinner wiped the green paint off the placards.
I lightened the mix with some yellow and sprayed in between the panels to add some interest then oversprayed the entire cockpit with AK ultra matt varnish to deaden the shine of the Eduard coloured etch and to cover up the blobs of superglue.
I'll drop some Tamiya X-22 into the instrument dials to represent the glass and do some chipping with a silver pencil for some wear and tear, the cockpit floor will be given some brown chipping to represent some wear to the floorboards.
There are a couple more details to add yet but hopefully I'll be able to close up the fuselage soon;
I lightened the mix with some yellow and sprayed in between the panels to add some interest then oversprayed the entire cockpit with AK ultra matt varnish to deaden the shine of the Eduard coloured etch and to cover up the blobs of superglue.
I'll drop some Tamiya X-22 into the instrument dials to represent the glass and do some chipping with a silver pencil for some wear and tear, the cockpit floor will be given some brown chipping to represent some wear to the floorboards.
There are a couple more details to add yet but hopefully I'll be able to close up the fuselage soon;
Panzer, Tank, Aircraft,
Airfix 1/48 P-51D Mustang,
Airfix 1/48 P-51D Mustang Eduard Zoom,
Airfix P-51D,
P-51D Mustang
Saturday, 20 January 2018
Airfix 1/48 P-51D Mustang
I've heard a lot about this kit since it was released so when my son asked me what I wanted for Xmas I requested this as a gift. As I knew it was coming I ordered a few goodies such as Eduard Brassin wheels and exhaust stacks (both types just in case) plus an Eduard ZOOM set for the cockpit and HGW seat belts.
I wasn't really planning on starting it straight away but after seeing a couple of builds online I decided to open the box and get cracking as the last time I built a Mustang ended in failure and it went to land fill.
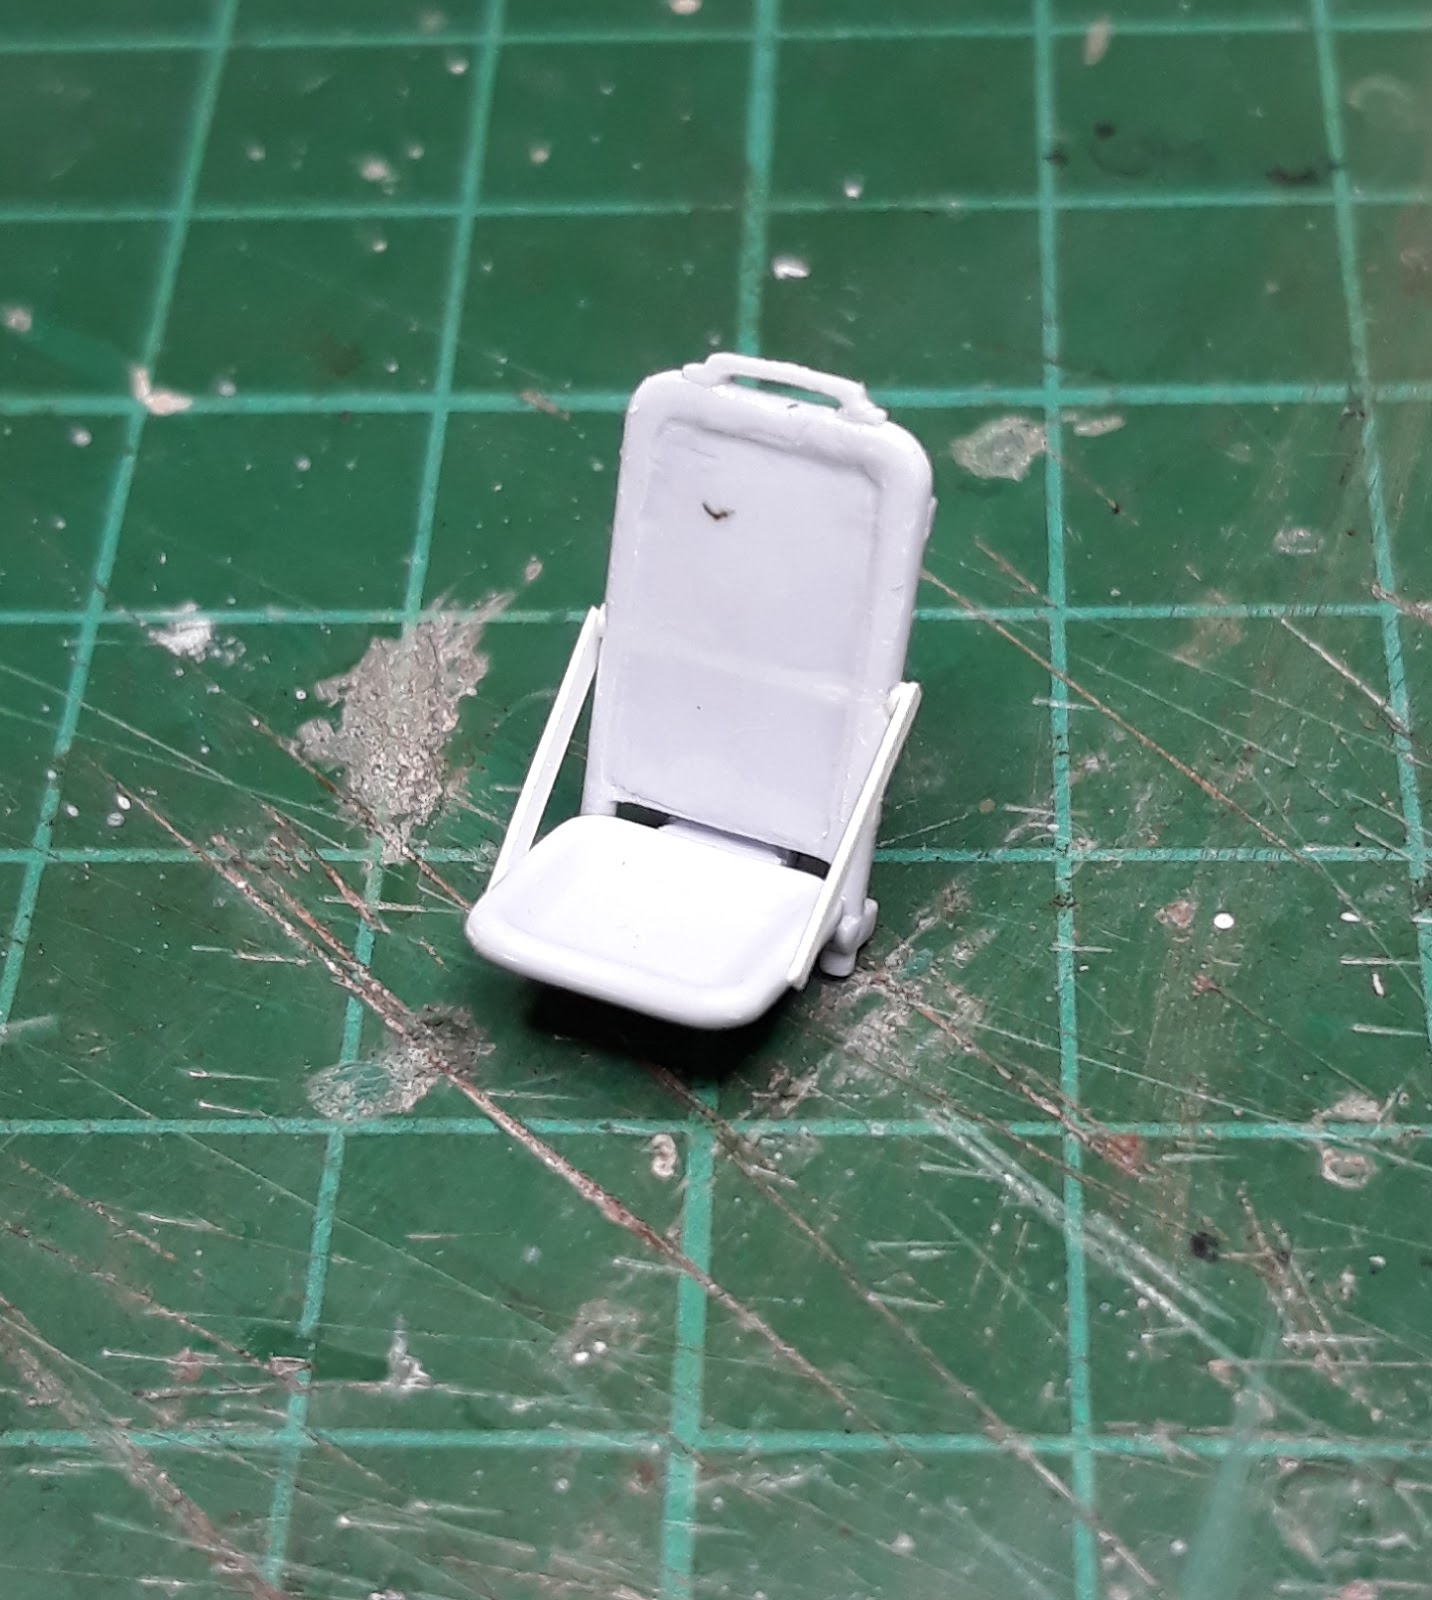
The very first job was to remove the moulded on seat belts and seat cushion so using a Trumpeter micro chisel the detail was scraped off, smoothed out with wet and dry paper then I run liquid glue over it, the side rails were replace with strip styrene;
The interior is quite busy due to the intake duct for the oil cooler, cockpit and tail wheel housing and it will need careful painting. The cockpit side panels have a couple of pin marks present that require filling so this was done with a blob of superglue and when set will be sanded down.
As I'm using a pre-painted etch set I'll need to match the colour then add the etch when the cockpit is painted. This bit will be interesting as there are three different colours involved such as cockpit green, black and aluminium so some painting will be required before gluing it all together such as the oil cooler intake duct and tail wheel bay.
Edit; I should add that I actually started this kit last week but even so to get the cockpit roughly painted in such a short time is unusual for me as it normally takes me weeks to open the box. Anyway I sprayed it all black first then mixed up some Tamiya XF-4 Yellow and XF-5 Green until I got a shade as near as dammit to Interior Green, the oil cooler intake duct will be sprayed with Vallejo Metal Colour aluminium tomorrow.
After this I'll smarten up the interior with some brush painting, fix the seat belts in then give it a pin wash with dark brown or similar. I should then be able to glue the fuselage together.
I wasn't really planning on starting it straight away but after seeing a couple of builds online I decided to open the box and get cracking as the last time I built a Mustang ended in failure and it went to land fill.
The very first job was to remove the moulded on seat belts and seat cushion so using a Trumpeter micro chisel the detail was scraped off, smoothed out with wet and dry paper then I run liquid glue over it, the side rails were replace with strip styrene;
The interior is quite busy due to the intake duct for the oil cooler, cockpit and tail wheel housing and it will need careful painting. The cockpit side panels have a couple of pin marks present that require filling so this was done with a blob of superglue and when set will be sanded down.
As I'm using a pre-painted etch set I'll need to match the colour then add the etch when the cockpit is painted. This bit will be interesting as there are three different colours involved such as cockpit green, black and aluminium so some painting will be required before gluing it all together such as the oil cooler intake duct and tail wheel bay.
Edit; I should add that I actually started this kit last week but even so to get the cockpit roughly painted in such a short time is unusual for me as it normally takes me weeks to open the box. Anyway I sprayed it all black first then mixed up some Tamiya XF-4 Yellow and XF-5 Green until I got a shade as near as dammit to Interior Green, the oil cooler intake duct will be sprayed with Vallejo Metal Colour aluminium tomorrow.
After this I'll smarten up the interior with some brush painting, fix the seat belts in then give it a pin wash with dark brown or similar. I should then be able to glue the fuselage together.
Panzer, Tank, Aircraft,
Airfix 1/48 P-51D Mustang,
Airfix P-51D
Subscribe to:
Posts (Atom)