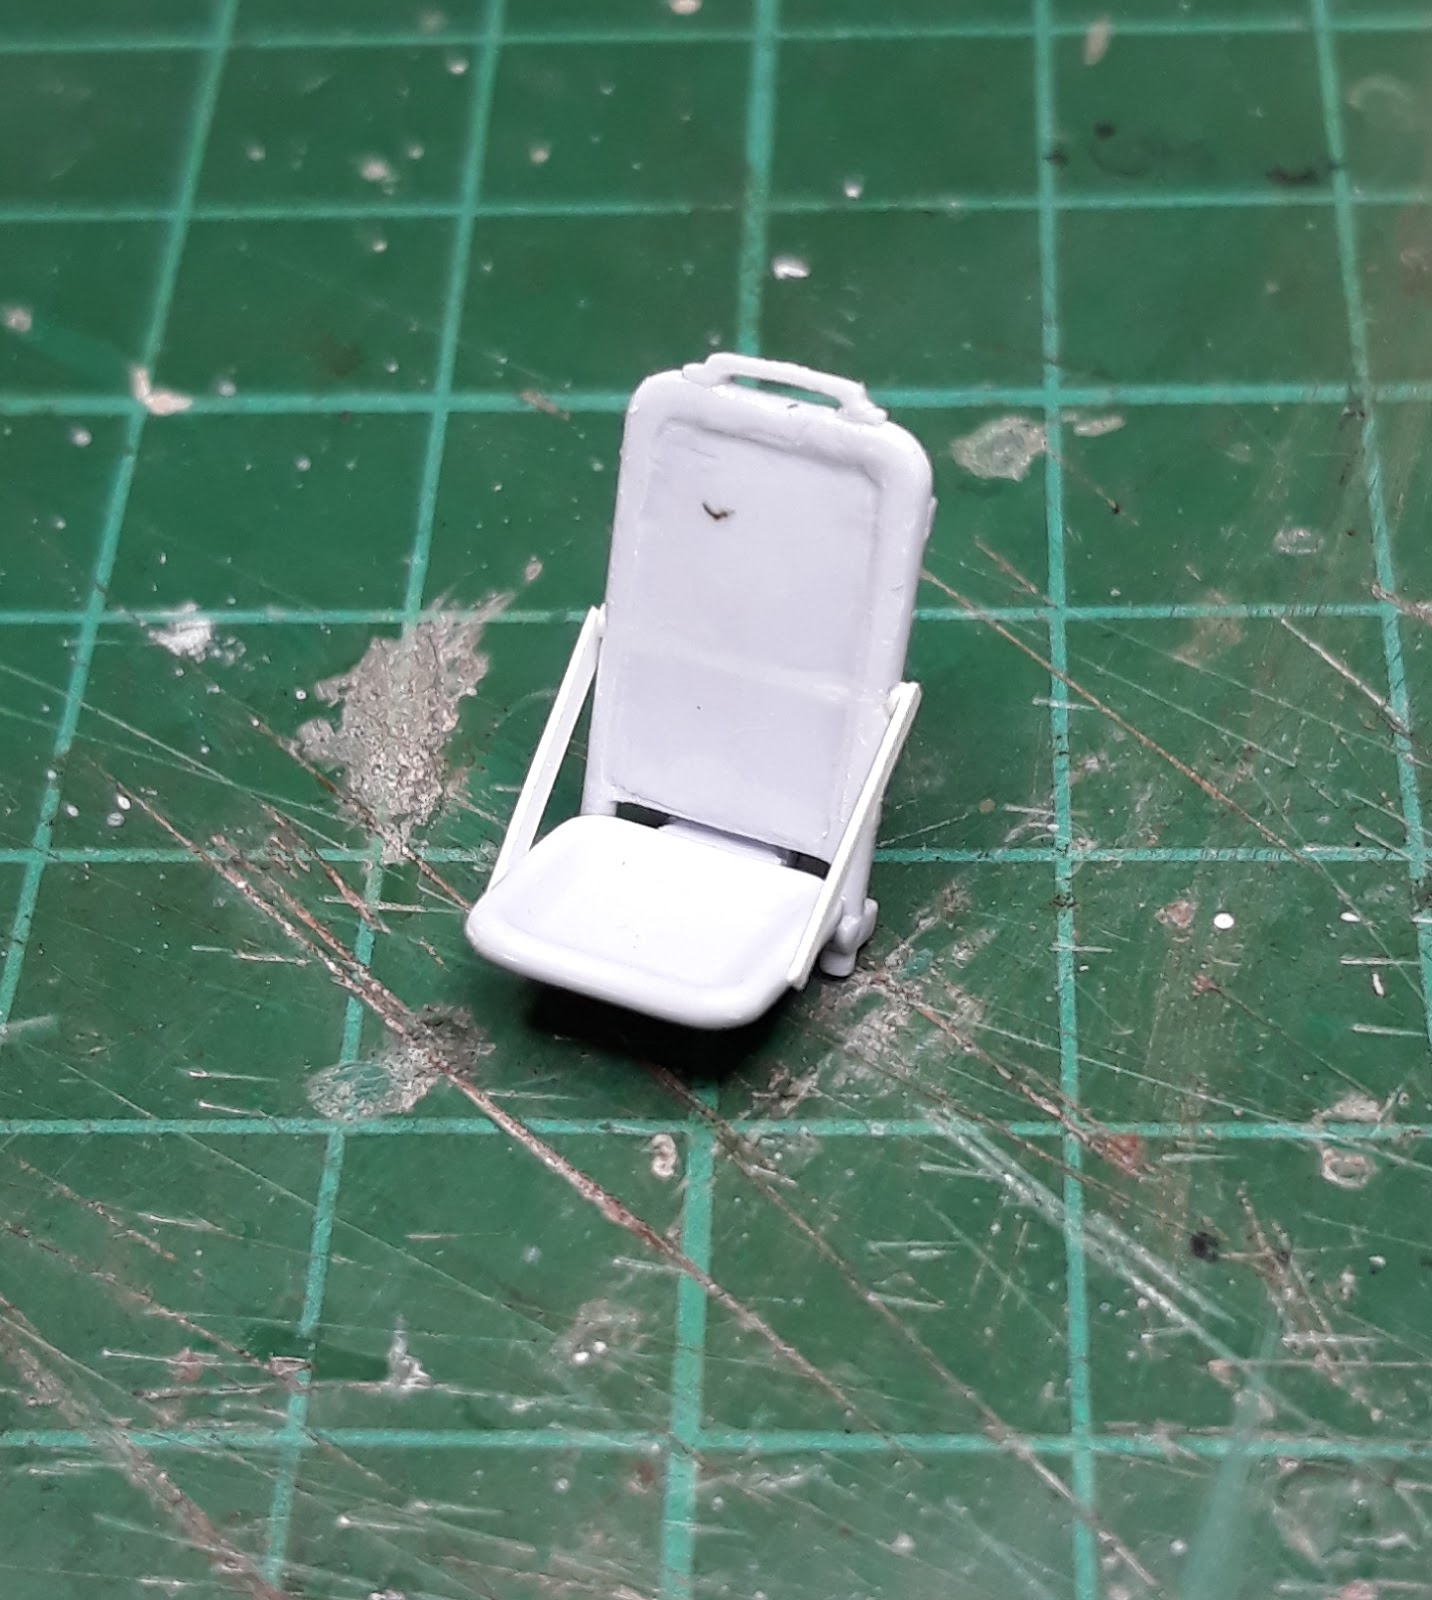
I've begun to start getting this on the home stretch and today I sprayed the canopy and windscreen interiors, the wheel wells and gear bay doors. Once the windscreen is in place I can then start spraying the whole model;
Edit; after painting the wheels well and gear doors with ZCY (Zinc Chromate Yellow) I've decided to repaint them with the interior green mix I've used for the cockpit. This was due to a conversation with a fellow modeller and finding a pic of the P-51D I'm basing my model on;
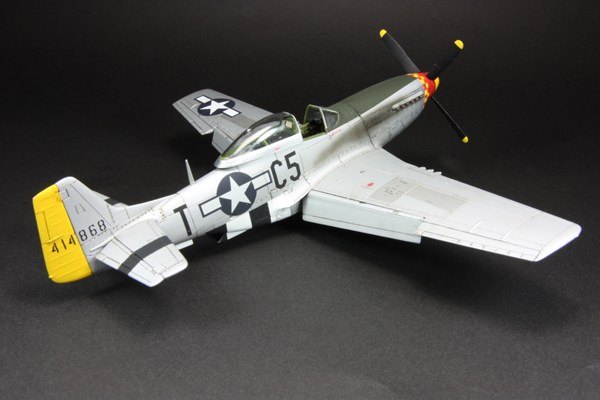
This is P-51D 44-14868 'Hurry Home Honey' assigned to the 364th Fighter Squadron, 357th Fighter Group. Looking at the pic it appears to me that the starboard gear door interior is quite dark, especially when you compare it against the checks around the nose as these were yellow and red (the lighter tone in the pic is yellow) so my guess is that the interior colour would have been green;
I found this interesting piece along with the photo of 414868 that explains the heavy exhaust staining on the fuselage;
'
44-14868 P-51D flown by Major Peterson at the end of his second tour of duty, shown here temporarily refueling at an abandoned German airbase in Auxerre, France, in January 1945.
Patton had just liberated the town, and after some delay, parted with some precious tank fuel to allow the grounded squadron of 3 P-51s to return to Leiston after burning their fuel up dogfighting with Me262 jets.
The exhaust soot on the fuselage was the result of Major Peterson chasing a jet in a full throttle dive to 700mph at 25,000ft, losing aileron control when encountering compressibility at the sound barrier, and regaining control by throwing the prop pitch to minimum which forced the engine RPMs to scream over the tachometer's redline, but broke up the air and allowed him to pull safely out of the dive with his trim tabs. The soot is likely the forced engine oil and unburnt exhaust from the redlining. The squadron followed the jet to its Lechfeld, Germany base where they split into pairs and circled "fence post high" around each end of the runway, awaiting the jet and dodging anti-aircraft gunnery. Major Peterson's wingman, Roland Wright, flying "Mormon Mustang", shot the jet down, and they ended up in Auxerre where they finally ran out of fuel.'