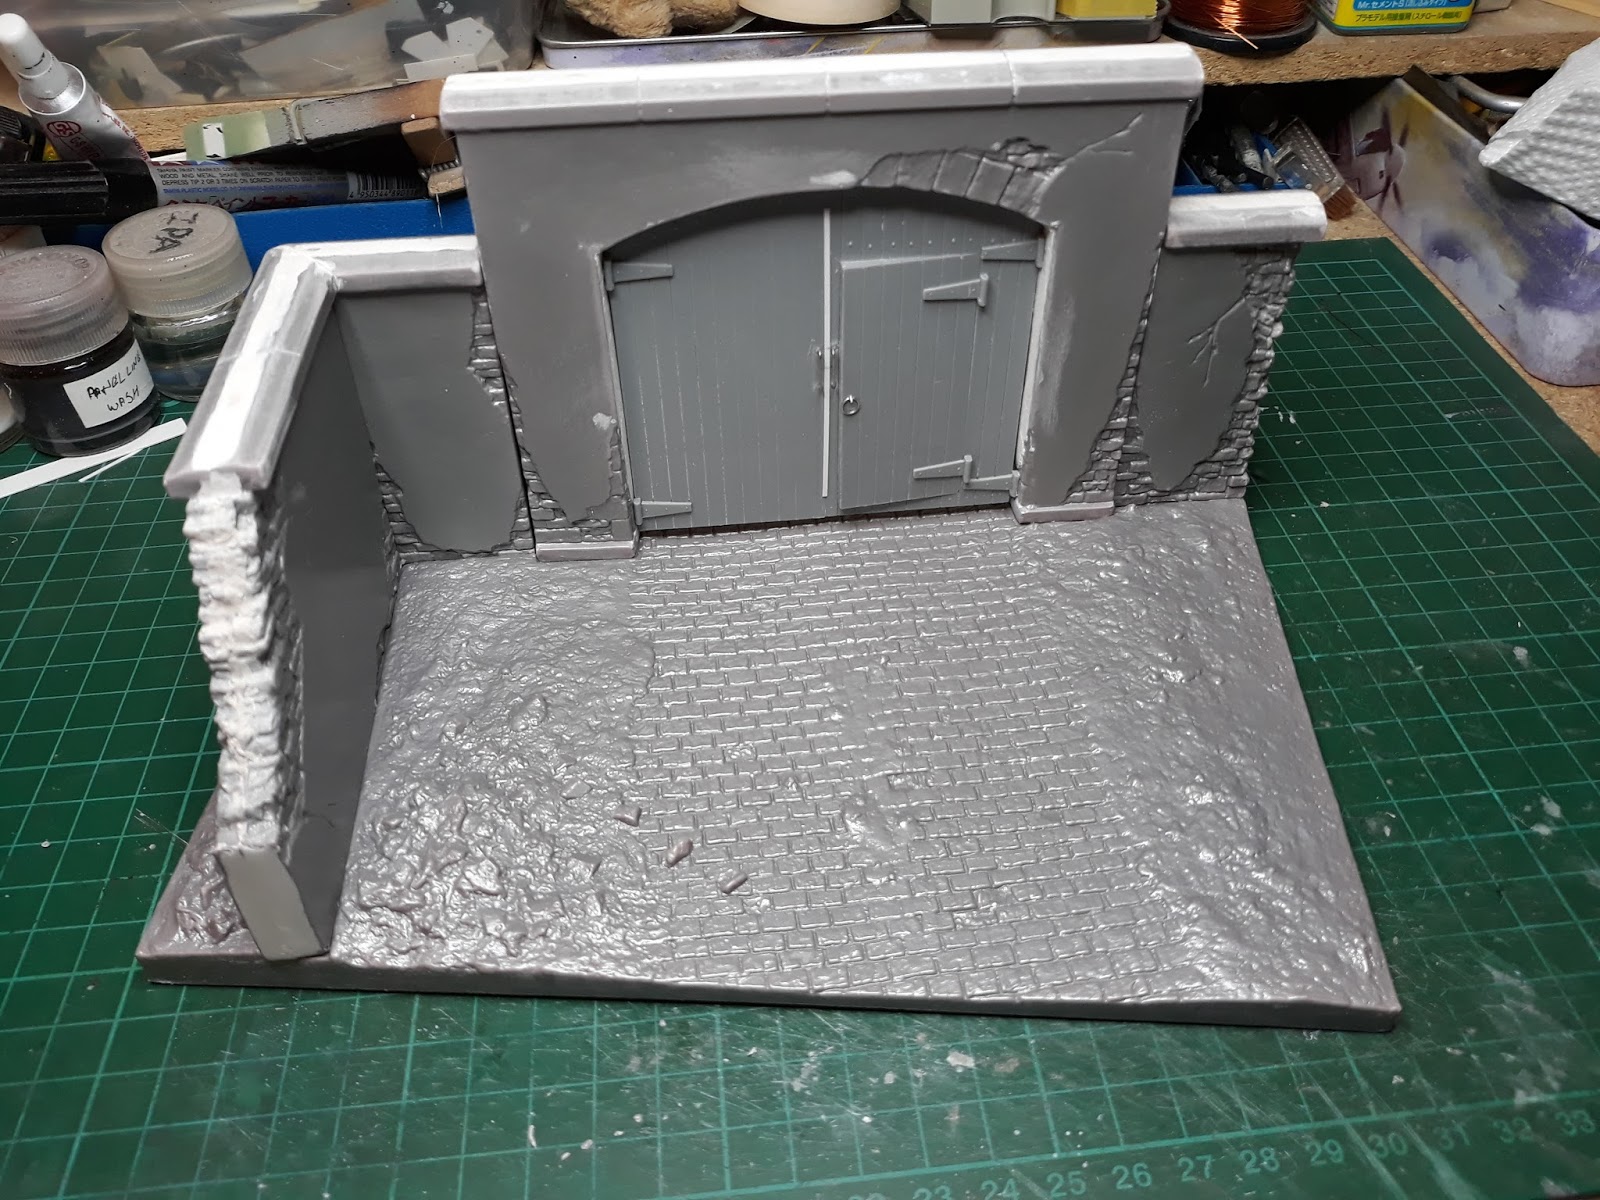
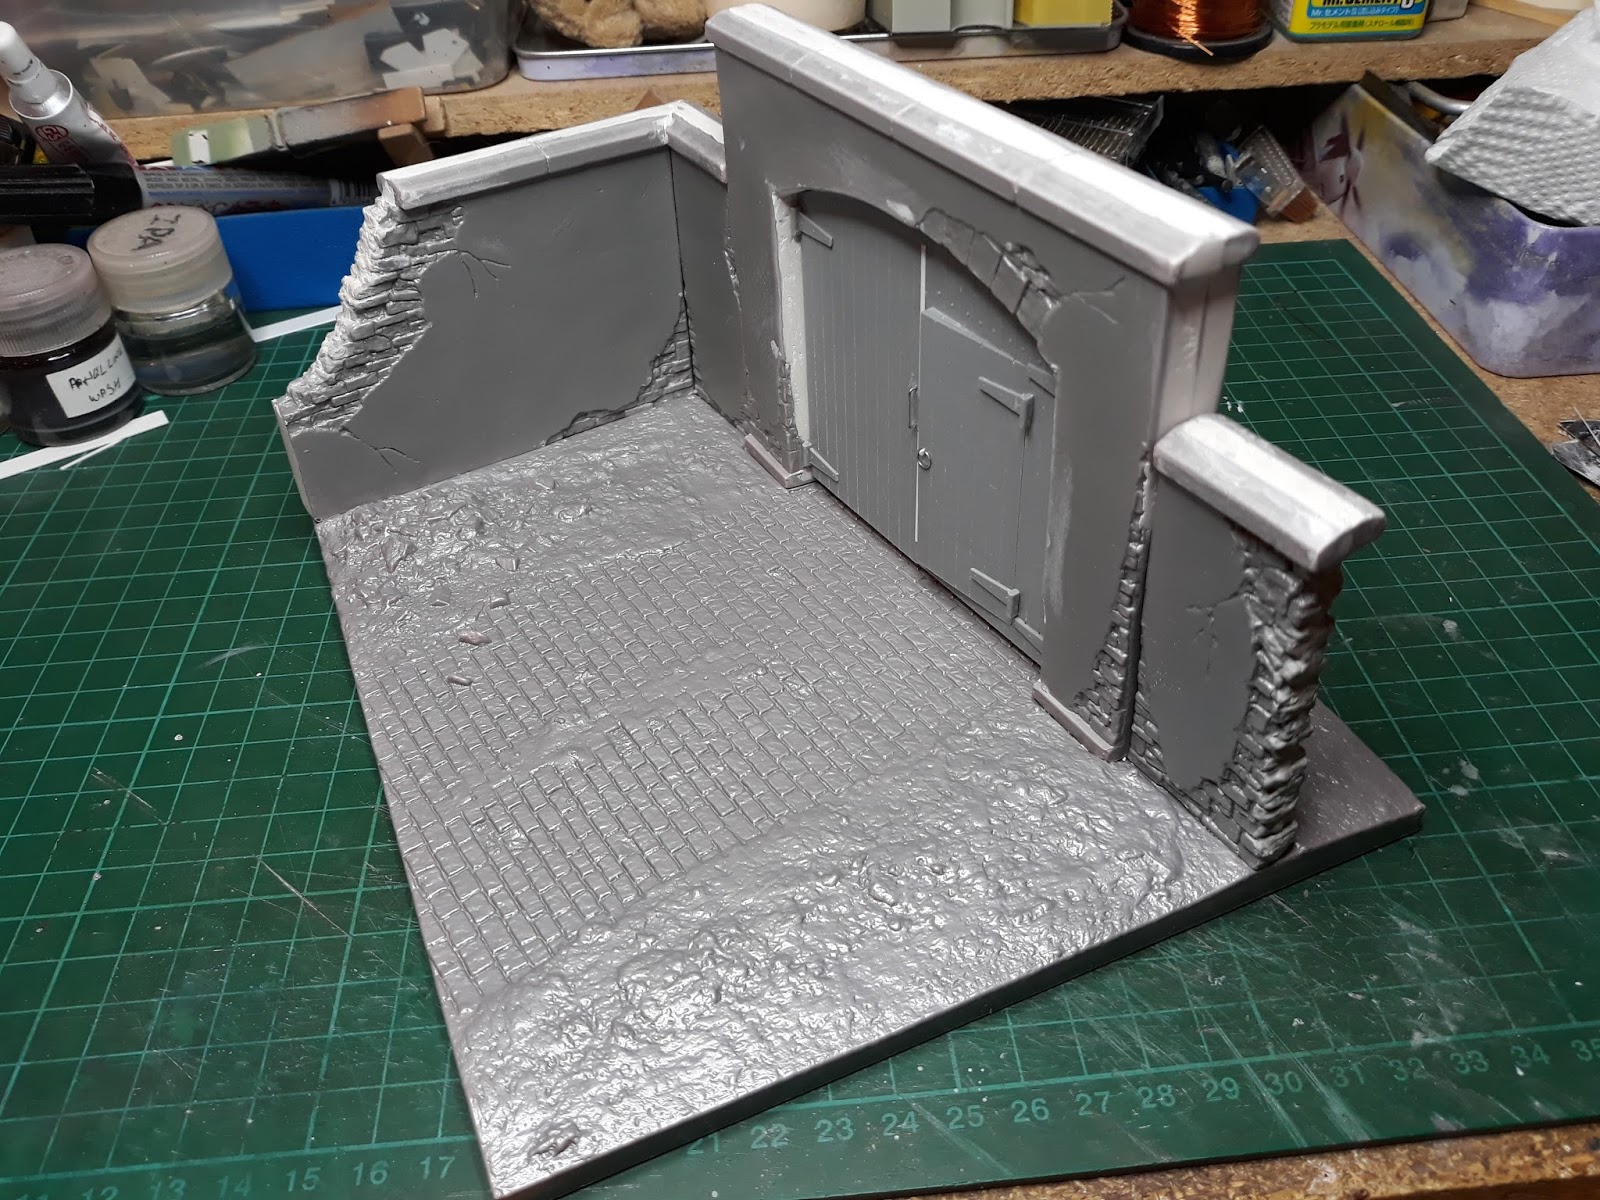
The diorama has served its purpose for the review I did for the Lifecolour paints so after playing around with it for experimental reasons I've put it to one side. Maybe I can use it for something at a later date but anyway here's a couple of pictures showing what I did with it;
I was quite impressed with the Lifecolour paint to be honest as I did try brush painting it a few years ago and wasn't very impressed with the coverage, however I had no issues putting it through my airbrush so I'll look at this brand again.
By the way for thinning the paint I had to use Vallejo Airbrush Cleaner as I didn't have any Lifecolour thinners and with that and a few drops of flow improver the paint sprayed very nicely.
Hi and welcome to my small corner of the internet and here you will find a variety of models that mainly comprises armour, aircraft and figures. I'll be adding pics of current projects and older stuff plus models that have appeared in a couple of magazines, Model Military International and Military Miniatures in Review. Thank you for stopping by and taking an interest in my work.
Showing posts with label Miniart Farm Gate 36034. Show all posts
Friday, 20 October 2017
Miniart Farm gate with base
Panzer, Tank, Aircraft,
Lifecolour,
Miniart Farm Gate 36034
Tuesday, 10 October 2017
Miniart Farm gate with base
Well I managed to glue it all together but it's taken a LOT of work to get it to this stage plus a lot of filler to hide the gaps. The biggest problem was actually getting the kit halves to stick together as the plastic seemed pretty impervious to liquid glue and because it was a vac-form the mating edges are very thin. The styrene strips I added helped to a degree but it was still very easy to flex the parts and crack the joints, also the the joints seemed to 'flare out' to the middle which made filling difficult.
Copious amounts of superglue finally managed to stick the walls and gate to the base so it's now being left to set before I undercoat it;
The doors were glued shut with the hinges added after. I left the smaller door ajar and added the handles from wire along with a strip of styrene down the front;
As I said in a previous post this is mainly to test out some sets of Lifecolour paints I got for review so I'll post a pic of the finished piece...that's if it doesn't spring apart before hand....
Copious amounts of superglue finally managed to stick the walls and gate to the base so it's now being left to set before I undercoat it;
The doors were glued shut with the hinges added after. I left the smaller door ajar and added the handles from wire along with a strip of styrene down the front;
As I said in a previous post this is mainly to test out some sets of Lifecolour paints I got for review so I'll post a pic of the finished piece...that's if it doesn't spring apart before hand....
Thursday, 5 October 2017
Miniart 1/35 Farm Gate with base (Kit Number 36034)
I recently bought this as I need to do a demo of some new Lifecolour paints for a magazine review. I've never had one of these kits before so I thought I would do a quick build review for my blog (you will see it painted but photo's will be limited due to the mag).
The kit is actually vacuum formed and after my experiences with this type of model I knew what pitfalls were ahead. Firstly the parts were removed from the backing sheet by flexing the sheet until the parts broke free although I had to cut some away due to their placement, then they were given a clean up.
With vac-form kits you often get thin areas where the plastic has stretched over the mould particularly on corners and this model is no exception so car filler was used to pack out the thin areas for strength;
I added strips of styrene sheet to the inside edges to help keep the joins flush;
The assemblies were then glued together with lots of tape to hold them together;
The joints are not the best on this kit and will require some serious filling before I can paint it;
On the whole it won't look THAT bad after putting some effort into it but for buildings in dioramas I think plaster cast ones are better, still it looks quite pretty on the box;
The kit is actually vacuum formed and after my experiences with this type of model I knew what pitfalls were ahead. Firstly the parts were removed from the backing sheet by flexing the sheet until the parts broke free although I had to cut some away due to their placement, then they were given a clean up.
With vac-form kits you often get thin areas where the plastic has stretched over the mould particularly on corners and this model is no exception so car filler was used to pack out the thin areas for strength;
I added strips of styrene sheet to the inside edges to help keep the joins flush;
The assemblies were then glued together with lots of tape to hold them together;
The joints are not the best on this kit and will require some serious filling before I can paint it;
Subscribe to:
Posts (Atom)